DIY Room Decor
Summer is on its way and it is time to give our room a new makeover. So I am sharing some diy room decor ideas . Be calm and scroll down to have a look at all of these😙😙
1.Dixie Cup Garland
Want your room to have some nice lightening then scroll down this is just for you.
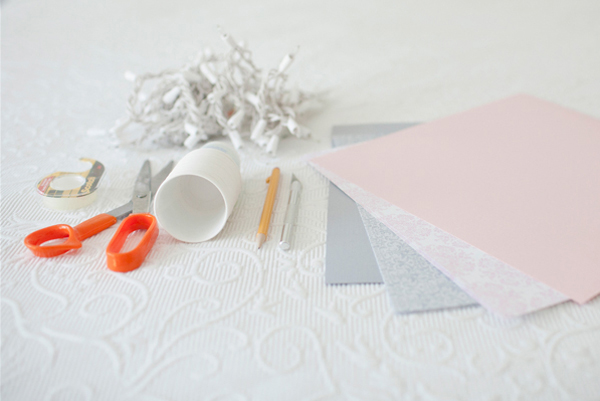
Make sure to collect all these and then start.
1.Dixie Cup Garland
Want your room to have some nice lightening then scroll down this is just for you.
Steps ----
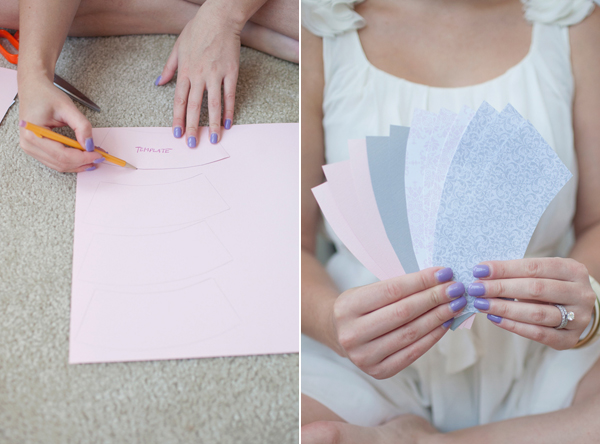
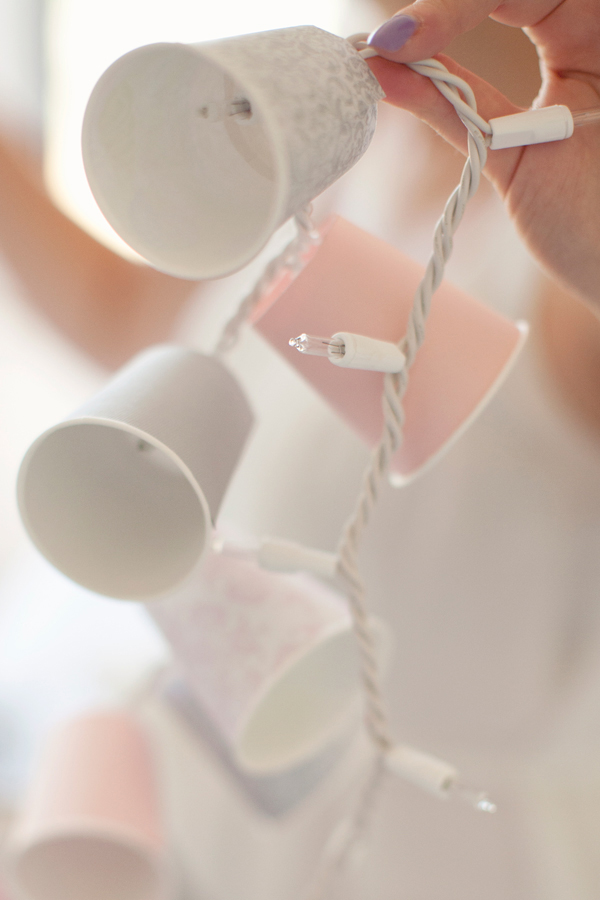
A. Cut apart a Dixie Cup and smoothen it. Trace the smoothen cup over the paper to make Dixie Cup template. Make sure it totally fixes the Dixie Cup. It may take some time so don't get😑 upset. Make as many shade cut outs from your scrapbook paper as you will need to cover each individual bulb on your light garland.
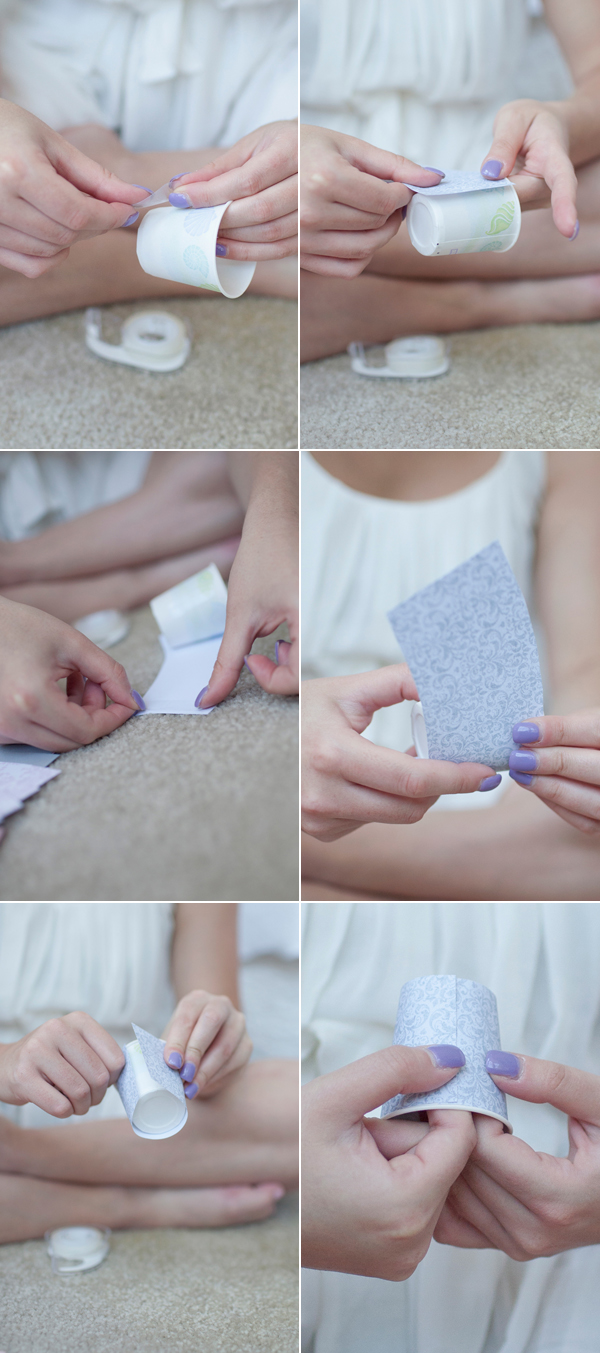
B. Using a double sided tape stick one end of the paper to the Dixie cup. Put another piece of the tape on the other side of the cutout and wrap it around the cup . Make sure that the edges of the cup are covered. Repeat same procedure with all other.
C. Using a pencil (or you can just eyeball it) you’ll make an X on the bottoms of the Dixie cups. Then carefully using an Exactoknife you’ll need to cut an X pattern into your cup. This is where the bulbs will poke thorough and the X needs to be small enough that the cups won’t slip out and fall off Repeat it with all others.
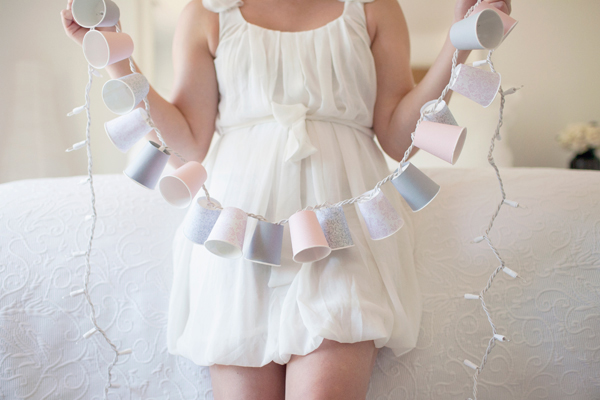
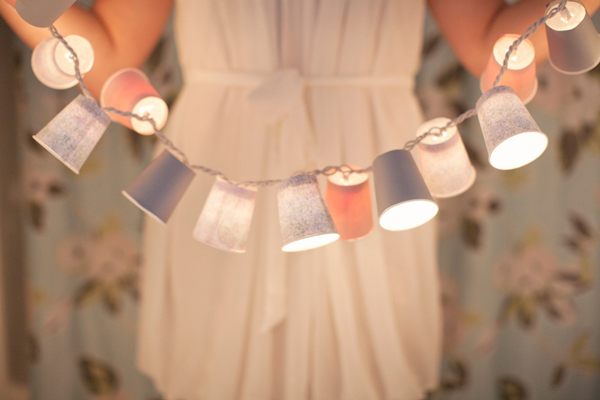
You are done with your pretty and easy light .Just keep a few things in mind while making them that it’s a bit risky to use regular holiday lights for this project; they can get very hot and because of how close they would be to the cups and paper may cause the cups to melt or catch fire. The original project article suggests using LED lights which is great if you can find them with white wiring (I had no such luck)! For the purpose of pretty pictures I used regular lights.
Just in case you are wondering how it looks then I have got your back.
Now it's your job to find out the perfect place for hanging these..
2.Notice Board
Always forgetting stuff ! But notice board out of your budget . Then you really need to try this 👷👷
Looks great na!!! But for this you will need
Steps----
A. Cover the cork board white tape. Only leave a traingular space.
B. Spray paint on the uncovered area.
C. Remove the covering and your notice board is readyyyy !!!!!
Put it on a study table and the beauty is ready to showoff 🙆🙆🙆🙆🙆
3. Ombre Basket
It's a multi-use basket case be used to keep dirty clothes , paper, anything you feel like to dump.🙋🙋
Steps ----
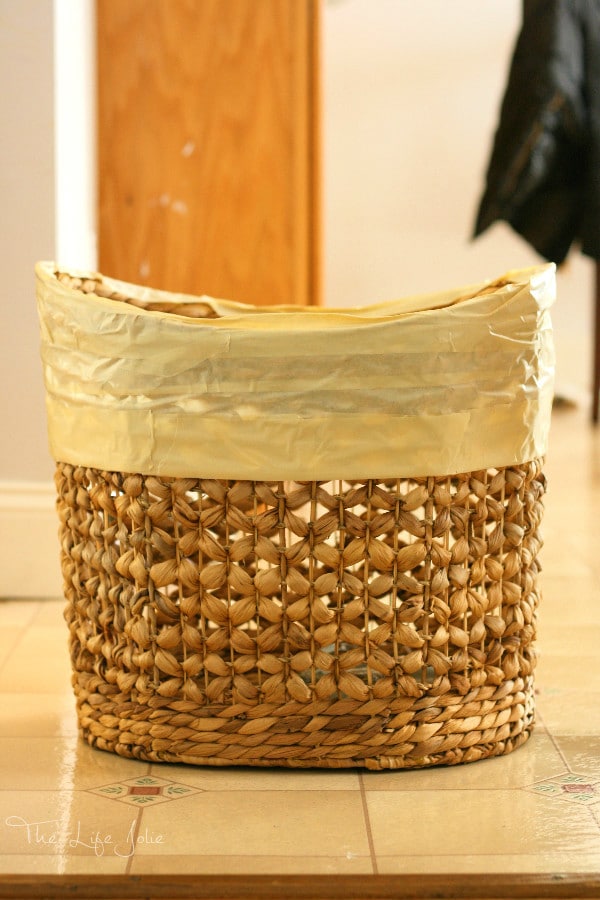
A.Tape off the top third of your basket with your masking tape so that it’s completely covered.
B. Spray paint the middle portion of it with light colour .
C. Now tape off the middle section (the top should still be taped at this point). Spray a generous coat of the darker color all over the bottom section. Allow this to dry over night.
D. Carefully remove all the tape and ta Da you are ready with it .
You are ready to rock with this ....
Looking forward to share more till then bye bye. Make sure to try these . Don't forget to SUBSCRIBE so these beautiful ideas land straight to your mail. Tell me was it useful by commenting down below .
Make every day count.




Comments
Post a Comment